Create custom MCP server to Query BigQuery - without code
Hoshang Mehta
Create custom MCP server to Query BigQuery - without code
Building an MCP (Model Context Protocol) server for BigQuery usually takes days of engineering effort. You have to handle Google Cloud service account authentication, manage connection pooling, design the API schema, and—most importantly—secure it so your AI agents don't accidentally leak your entire data warehouse.
For data teams, this is a massive bottleneck. You want to give your AI agents access to analytics data, but you don't want to spend your week writing boilerplate Python or Node.js code.
What if you could build a fully secure, production-ready BigQuery MCP server in 2 minutes without writing a single line of backend code?
This guide shows you how to use Pylar to auto-generate custom MCP tools for BigQuery that work with Claude Desktop, LangChain, n8n, and any other agent framework.
The Pylar Approach: Security & Speed
Pylar is a secure data access layer that sits between your data warehouse and your AI agents. Instead of giving agents direct access (risky!) or building custom API wrappers (slow!), Pylar lets you:
- Connect your BigQuery warehouse once.
- Define secure, sandboxed SQL views.
- Auto-generate MCP tools from those views using natural language.
The result? You get a secure, governed MCP server that you can plug into any agent in minutes.
Step-by-Step Walkthrough
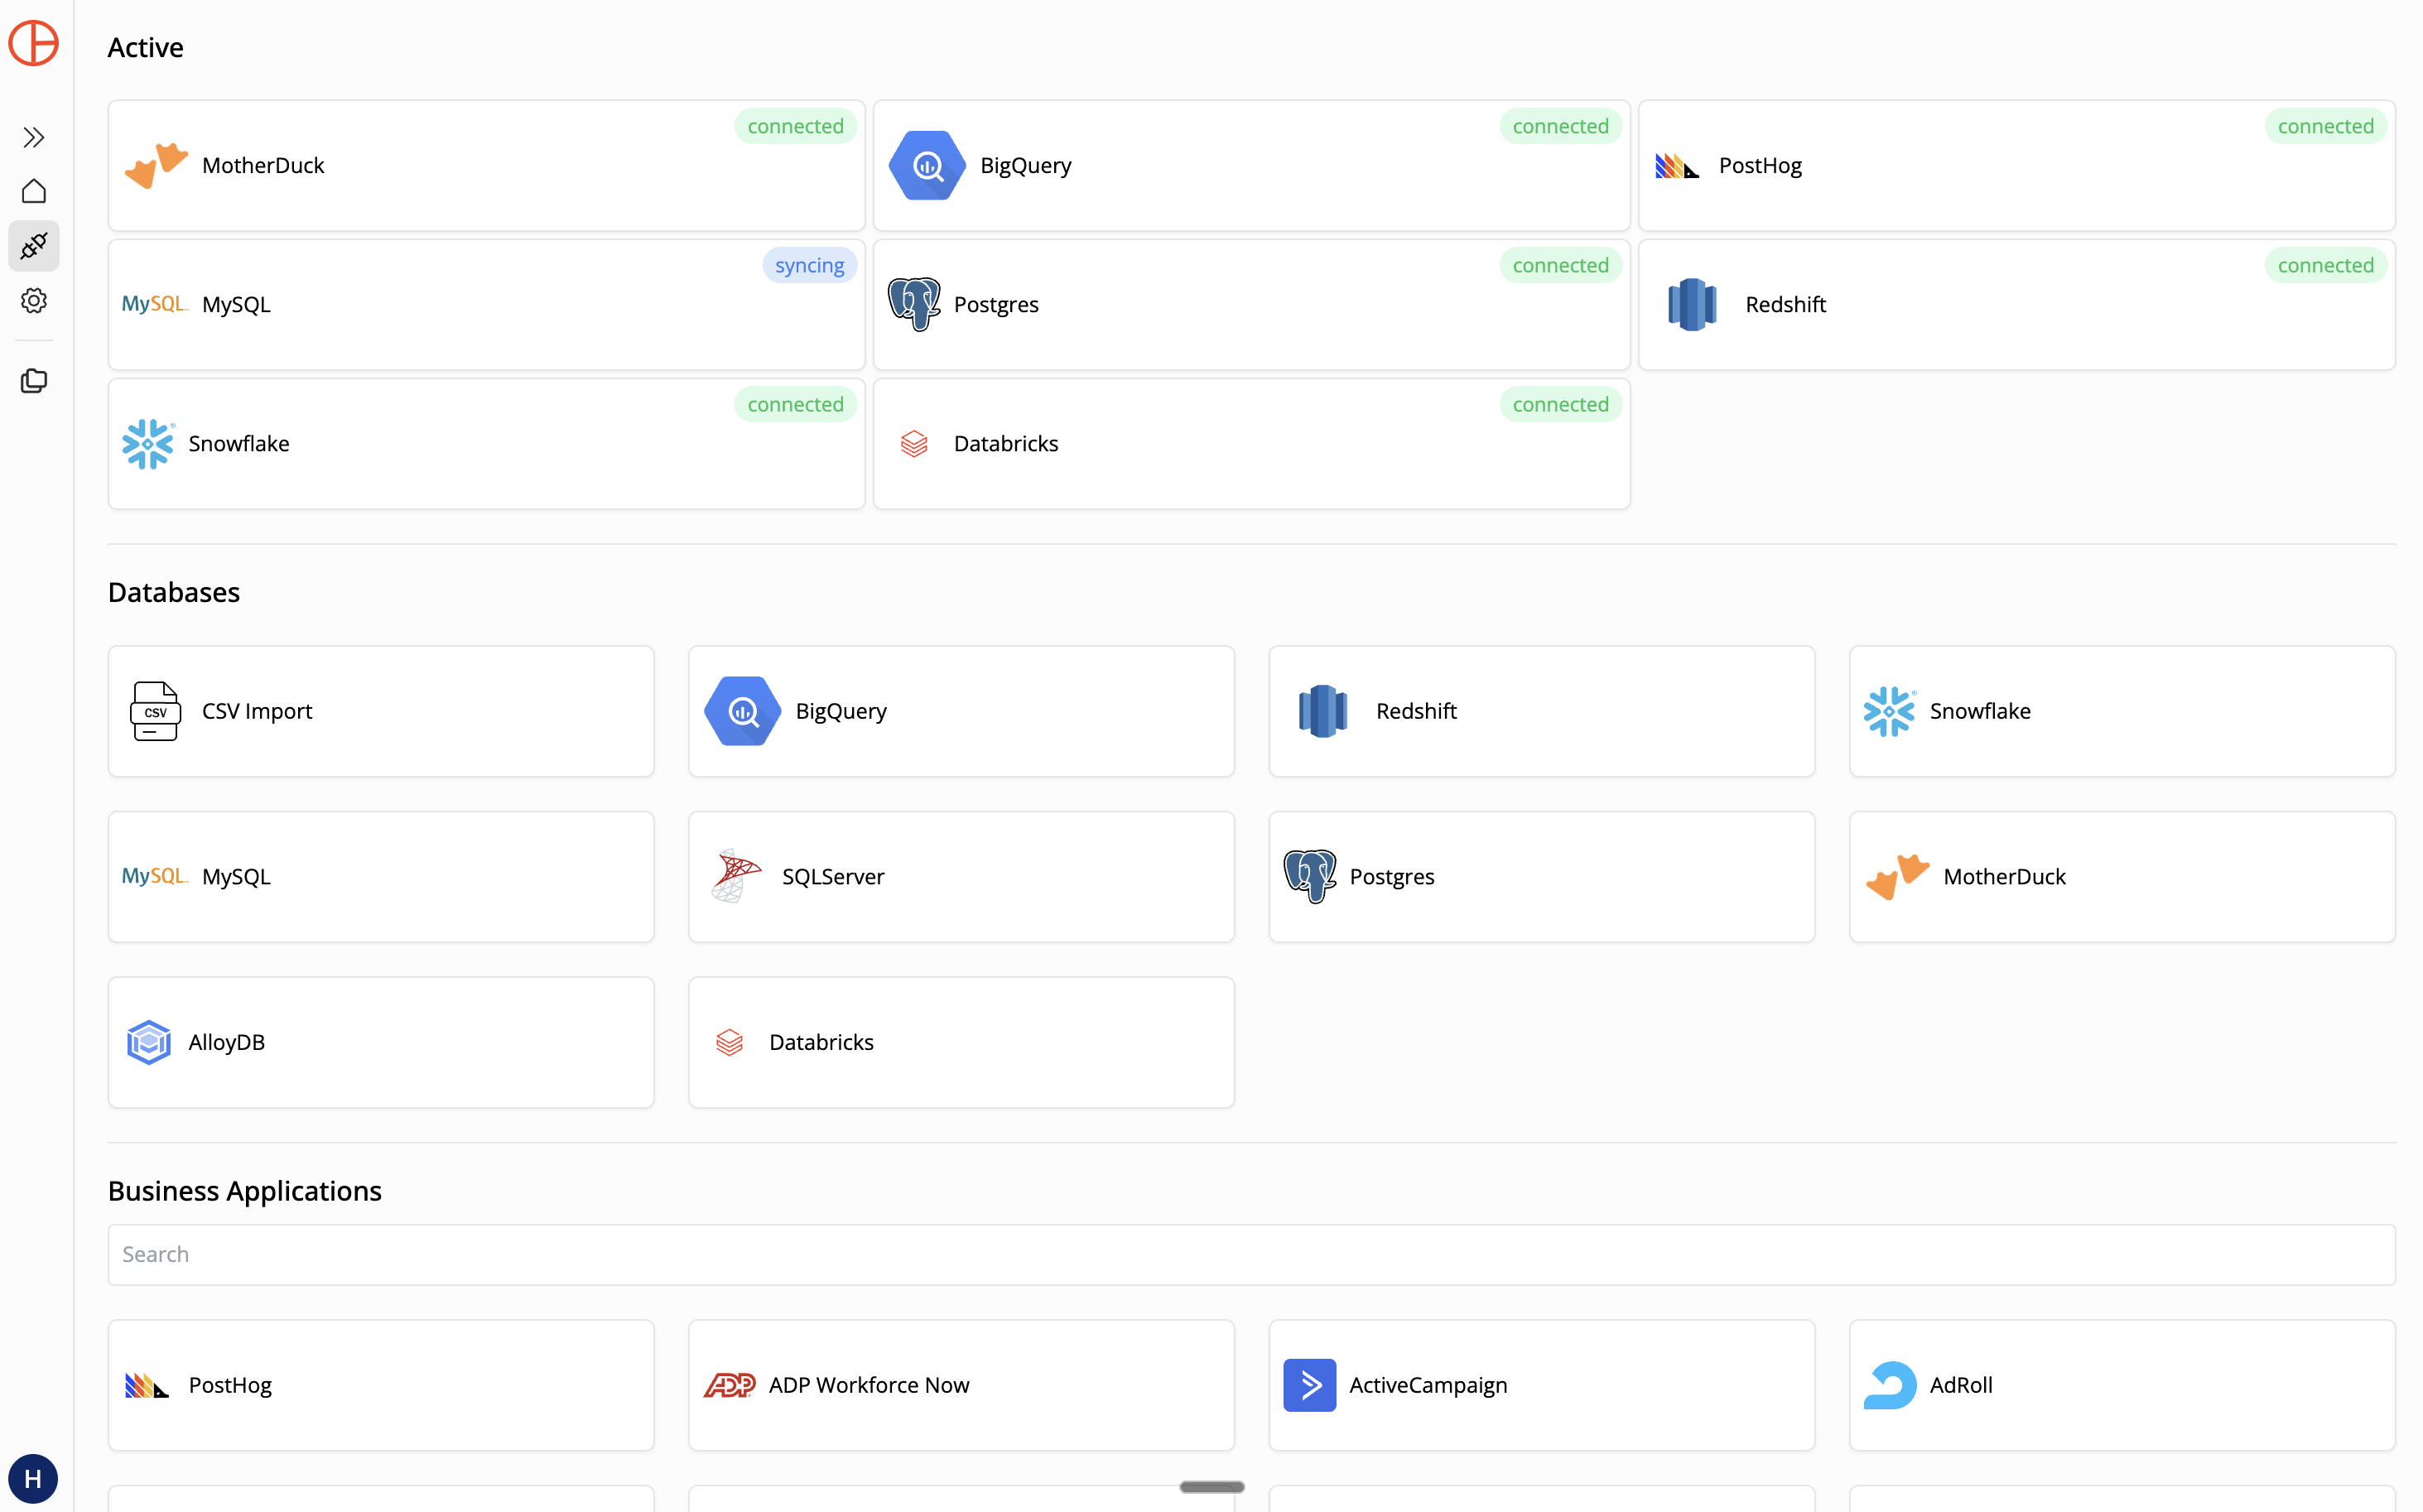
Step 1: Connect BigQuery to Pylar
First, we need to securely connect Pylar to your BigQuery project. Pylar uses standard Service Account authentication.
- Create a Service Account in your Google Cloud Console.
- Grant it the BigQuery Data Viewer and BigQuery Job User roles.
- Generate a JSON key for this service account and download it.
- In Pylar, go to Connections -> BigQuery.
- Upload your JSON key and enter your Project ID.
- Important: Whitelist Pylar's IP address (
34.122.205.142) in your Google Cloud VPC firewall rules to allow the connection.

Naming Rule: Use lowercase letters, numbers, and underscores only (e.g., bigquery_prod).
Once connected, Pylar indexes your schema metadata (not your data!) so it understands your tables.
Step 2: Create a Sandboxed View
Never give an AI agent access to your raw tables. Instead, create a Sandboxed View that defines exactly what the agent is allowed to see.
Let's say you want an agent to answer questions about product usage, but you don't want it to see PII or financial data.
In Pylar's SQL IDE, create a view like this:
-- view: product_usage_summary
SELECT
  user_id,
  event_name,
  COUNT(*) as event_count,
  MAX(event_timestamp) as last_seen
FROM `your-project.analytics.events`
WHERE event_timestamp > TIMESTAMP_SUB(CURRENT_TIMESTAMP(), INTERVAL 30 DAY)
GROUP BY 1, 2
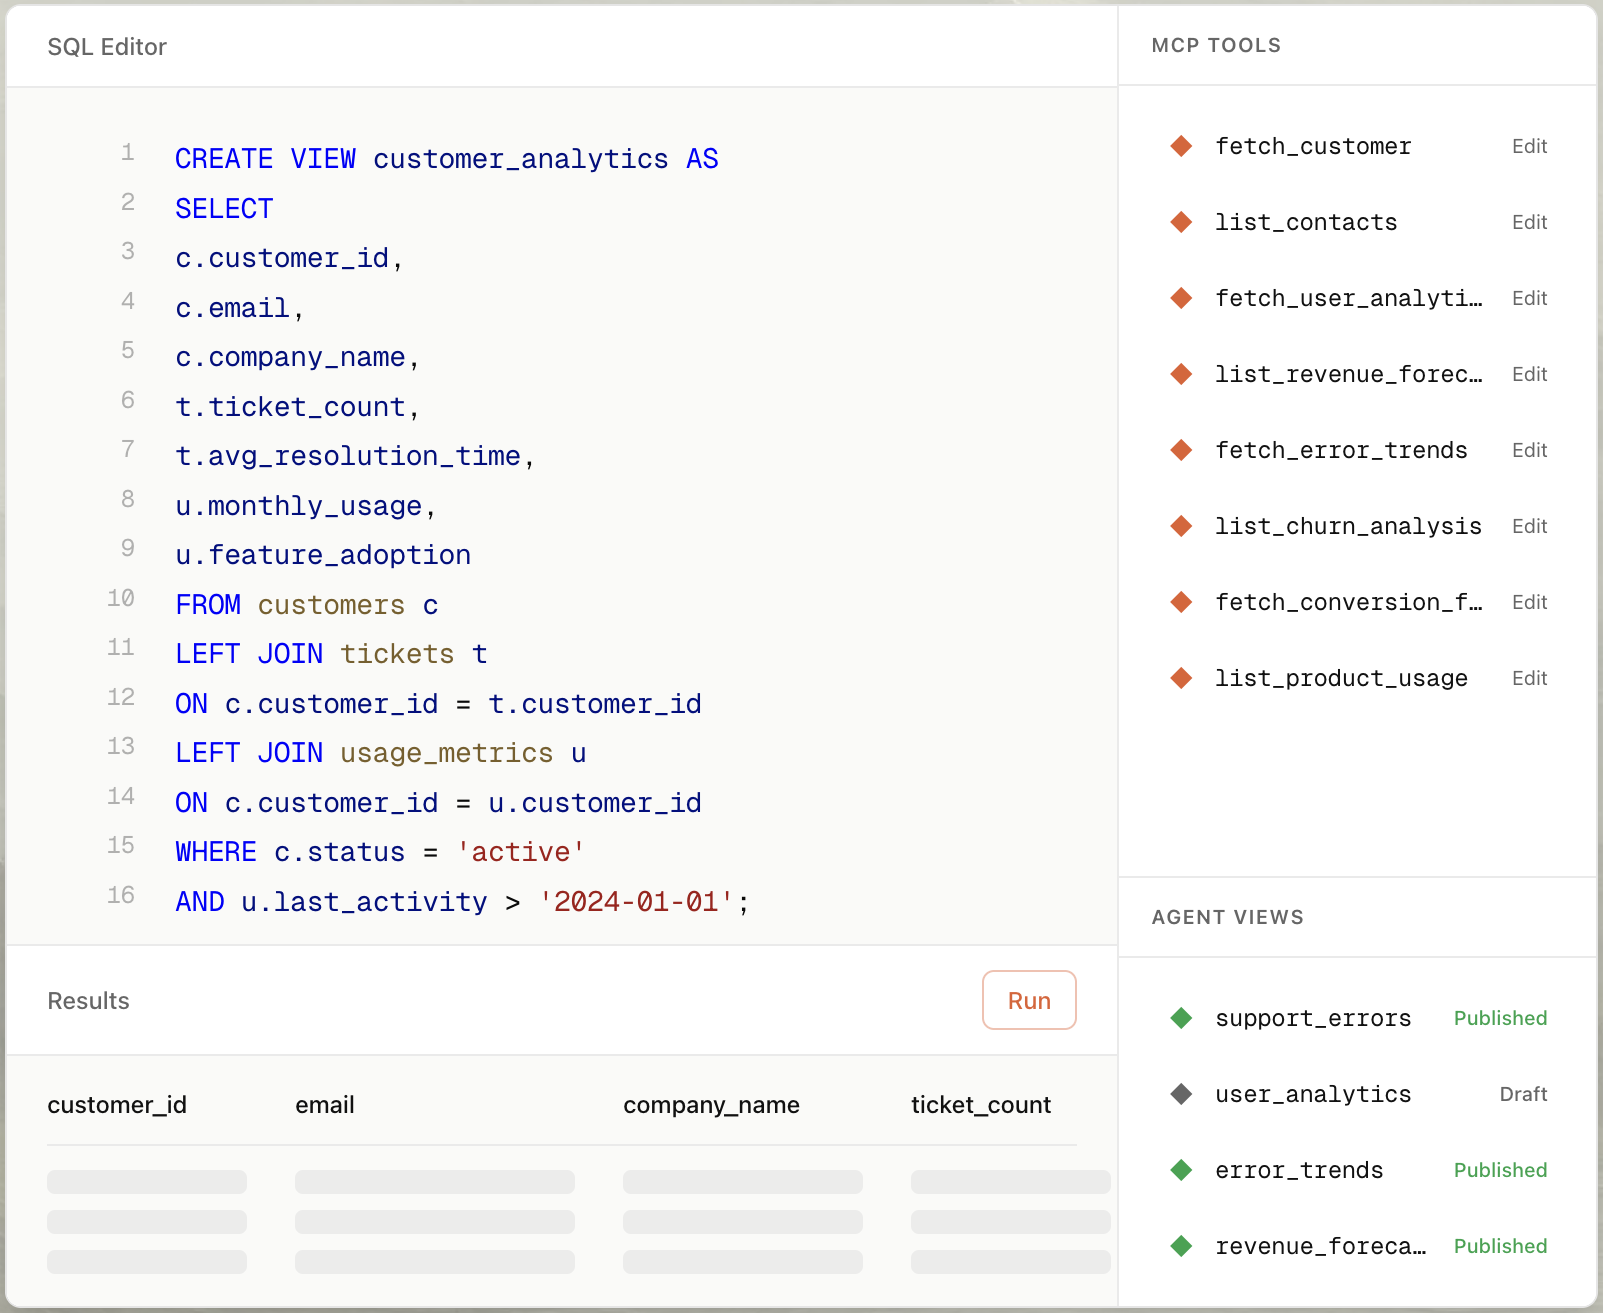
This view is your security boundary. The agent can only query this data. It physically cannot access columns or rows you haven't explicitly included.
Step 3: Auto-Build the MCP Tool
- Select your view in the right sidebar.
- Click "Create MCP Tool" and choose "Create with AI".
- Type a prompt: "Create a tool that gets user stats by user_id."
- Pylar generates the tool configuration:
- Name:
get_user_usage_metrics - Description: "Retrieves event counts and last seen timestamps for a specific user ID over the last 30 days."
- Parameters:
user_id(string, required)
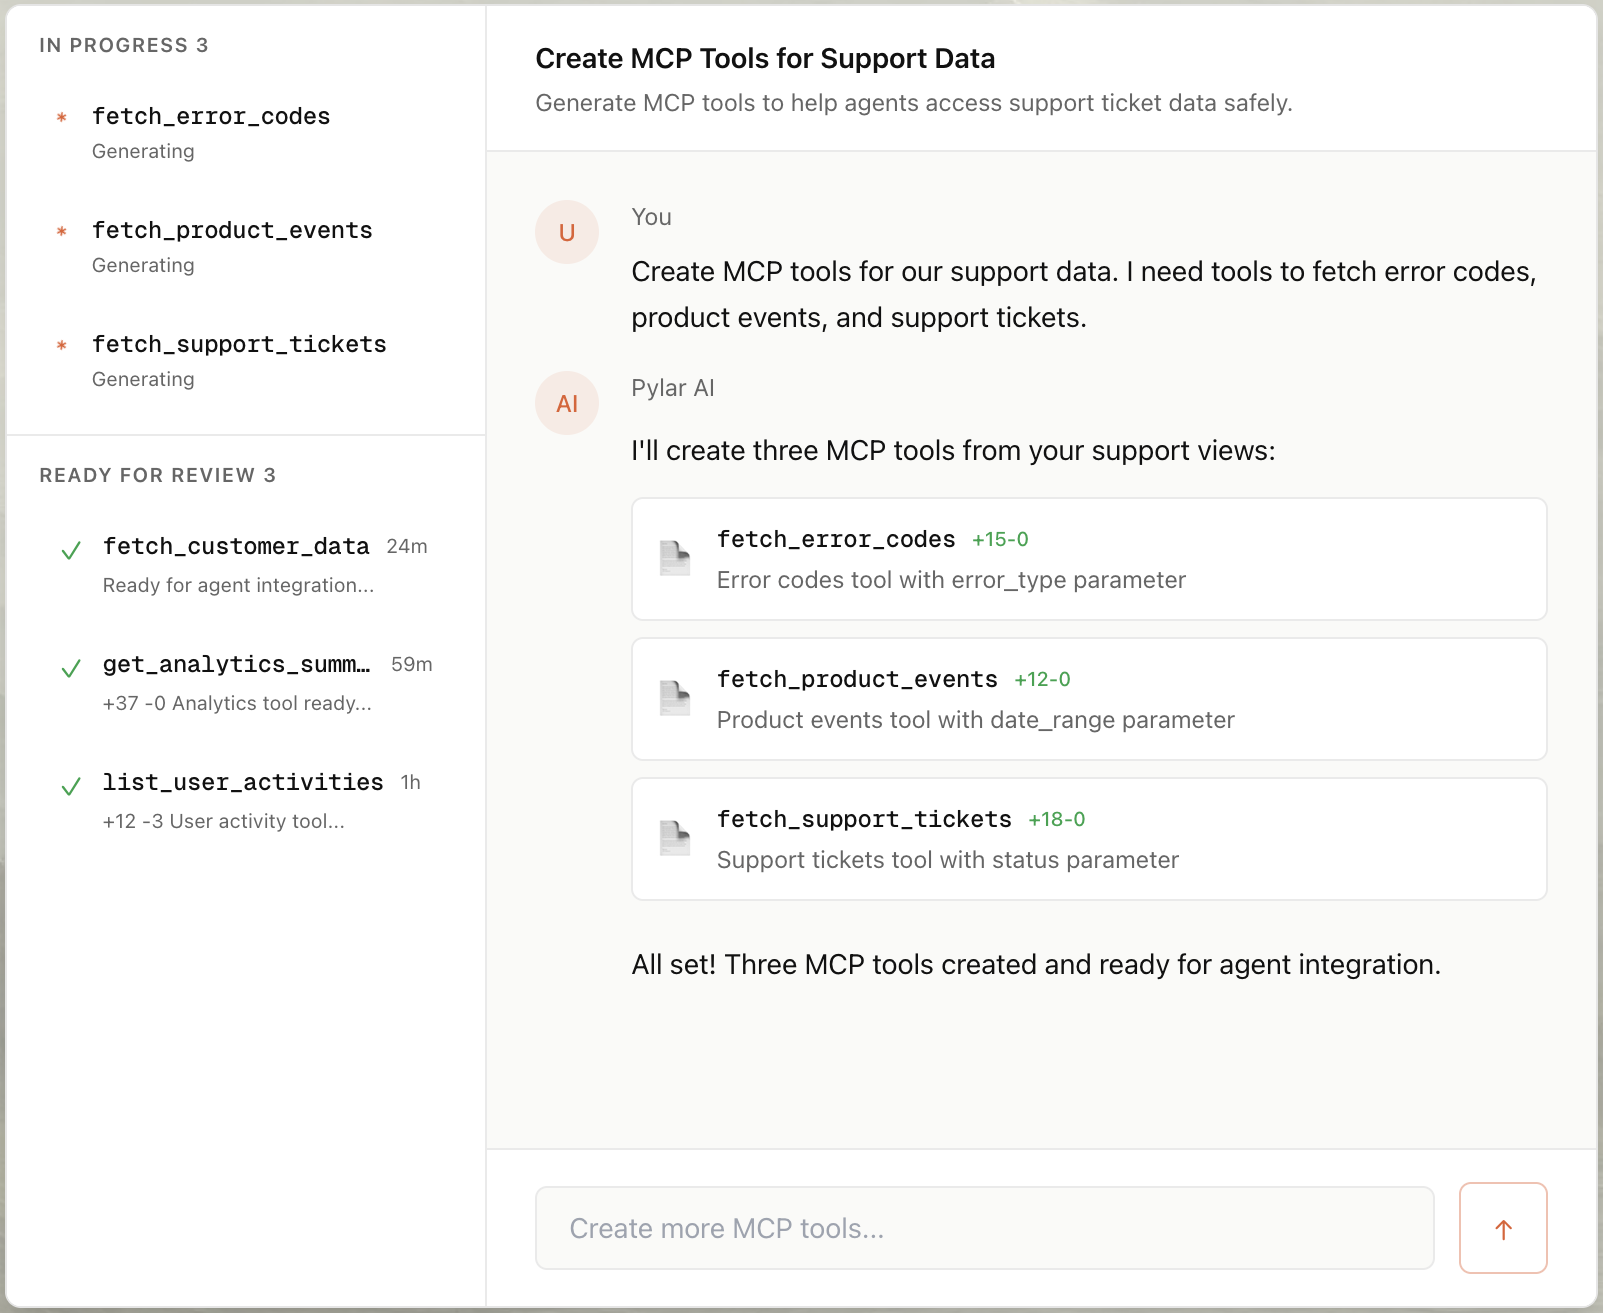
Click Save. You just built a custom tool.
Step 4: Publish & Connect
- Click "Publish" in the right sidebar.
- Click "Generate Token".
- Copy your MCP HTTP Stream URL (
https://mcp.publish.pylar.ai/mcp) and Authorization Bearer Token.

Now, connect it to your agent framework of choice:
For Claude Desktop:
Add this to your claude_desktop_config.json:
{
  "mcpServers": {
    "bigquery-analytics": {
      "url": "https://api.pylar.ai/mcp/v1/server/YOUR_SERVER_ID",
      "headers": {
        "Authorization": "Bearer YOUR_API_KEY"
      }
    }
  }
}
For LangChain (Python):
from langchain_mcp import MCPTool

tool = MCPTool(
    url="https://api.pylar.ai/mcp/v1/server/YOUR_SERVER_ID",
    api_key="YOUR_API_KEY"
)
agent.bind_tools([tool])
Advanced Use Cases for BigQuery Agents
Once you have the basic connection set up, here are some powerful ways to use BigQuery agents:
1. Marketing Analytics Agent
Goal: Allow marketing teams to ask questions about campaign performance without needing a data analyst.
- View: Join
marketing_spend(from Google Ads/Facebook) withweb_events(from GA4/Segment). - Tool Prompt: "Create a tool that calculates ROI by campaign name for a given date range."
- User Query: "Which campaigns had the lowest CPA last week?"
2. Product Feature Adoption
Goal: Help product managers understand how users are interacting with new features.
- View: Filter
app_eventsfor specific feature flags and join withuser_profiles. - Tool Prompt: "Create a tool that returns adoption rates for a specific feature flag."
- User Query: "How many enterprise users tried the new 'Export to PDF' feature yesterday?"
Connecting to Any Agent Builder
Pylar's MCP servers are universal. Here is how to connect them to popular agent platforms:
Option A: OpenAI Custom GPTs
- Go to My GPTs -> Create a GPT.
- In the Configure tab, scroll to Actions.
- Click Import from URL and paste your Pylar MCP URL.
- Add your Bearer Token in the Authentication settings (Select "API Key" -> "Bearer").
- Now your Custom GPT can chat with your BigQuery data!
Option B: n8n Workflows
- In your n8n workflow, add an HTTP Request node (or use the community MCP node if available).
- Set Method to POST.
- URL:
https://api.pylar.ai/mcp/v1/server/YOUR_SERVER_ID/tools/call. - Headers:
Authorization: Bearer YOUR_API_KEY. - Body: JSON object with the tool name and arguments.
- This allows you to trigger BigQuery lookups as part of complex automation flows.
Why This is Better Than DIY
| Feature | DIY (Manual Coding) | Pylar (No-Code) |
|---|---|---|
| Time to Build | 2-5 Days | 2 Minutes |
| Security | You must implement auth & sanitization | Built-in Sandboxed Views |
| Maintenance | You patch servers & update libs | Managed Platform |
| Governance | Hard to audit queries | Full Audit Logs & Evals |
Conclusion
Building an MCP server for BigQuery usually takes days of engineering effort—handling Google Cloud authentication, managing connection pooling, designing API schemas, and securing it all. With Pylar, you can create a secure, production-ready BigQuery MCP server in under 2 minutes—no coding required.
By connecting Pylar to your BigQuery project, creating sandboxed views that protect sensitive data and prevent expensive queries, and auto-generating MCP tools with natural language, you unlock the full analytical power of your data warehouse for AI agents while maintaining complete governance and control.
Whether you're building a marketing analytics agent, a product feature adoption tracker, or any other data-driven AI application, Pylar gives you the governance layer you need. Your views act as security and cost boundaries, preventing agents from accessing unauthorized data or triggering expensive full-table scans. With full observability through Pylar's Evals dashboard, you can monitor every query and optimize performance.
Stop building boilerplate API wrappers. Start securely unlocking your BigQuery data for AI agents today.
Ready to build? Create your first BigQuery MCP server for free at pylar.ai.