Create custom MCP server to Query Snowflake - without code
Hoshang Mehta
Create custom MCP server to Query Snowflake - without code
Snowflake is the heart of modern data stacks, holding your most valuable customer and sales data. But connecting that data to your AI agents (like Claude or custom LangChain bots) is a security nightmare.
You can't just give an AI agent a JDBC connection string and hope for the best. You need strict governance, audit logs, and precise access control. Traditionally, this meant building a custom API layer—a project that takes weeks of engineering time.
There is a better way.
This guide shows you how to use Pylar to build a secure, custom MCP (Model Context Protocol) server for Snowflake in under 2 minutes—without writing a single line of code.
Why Pylar for Snowflake?
Pylar acts as a "governance firewall" for your AI agents. It allows you to:
- Sandbox Access: Create specific SQL views that limit what agents can see.
- Auto-Generate Tools: Turn those views into agent-ready tools instantly.
- Audit Everything: See exactly what queries your agents are running.
Step-by-Step Walkthrough
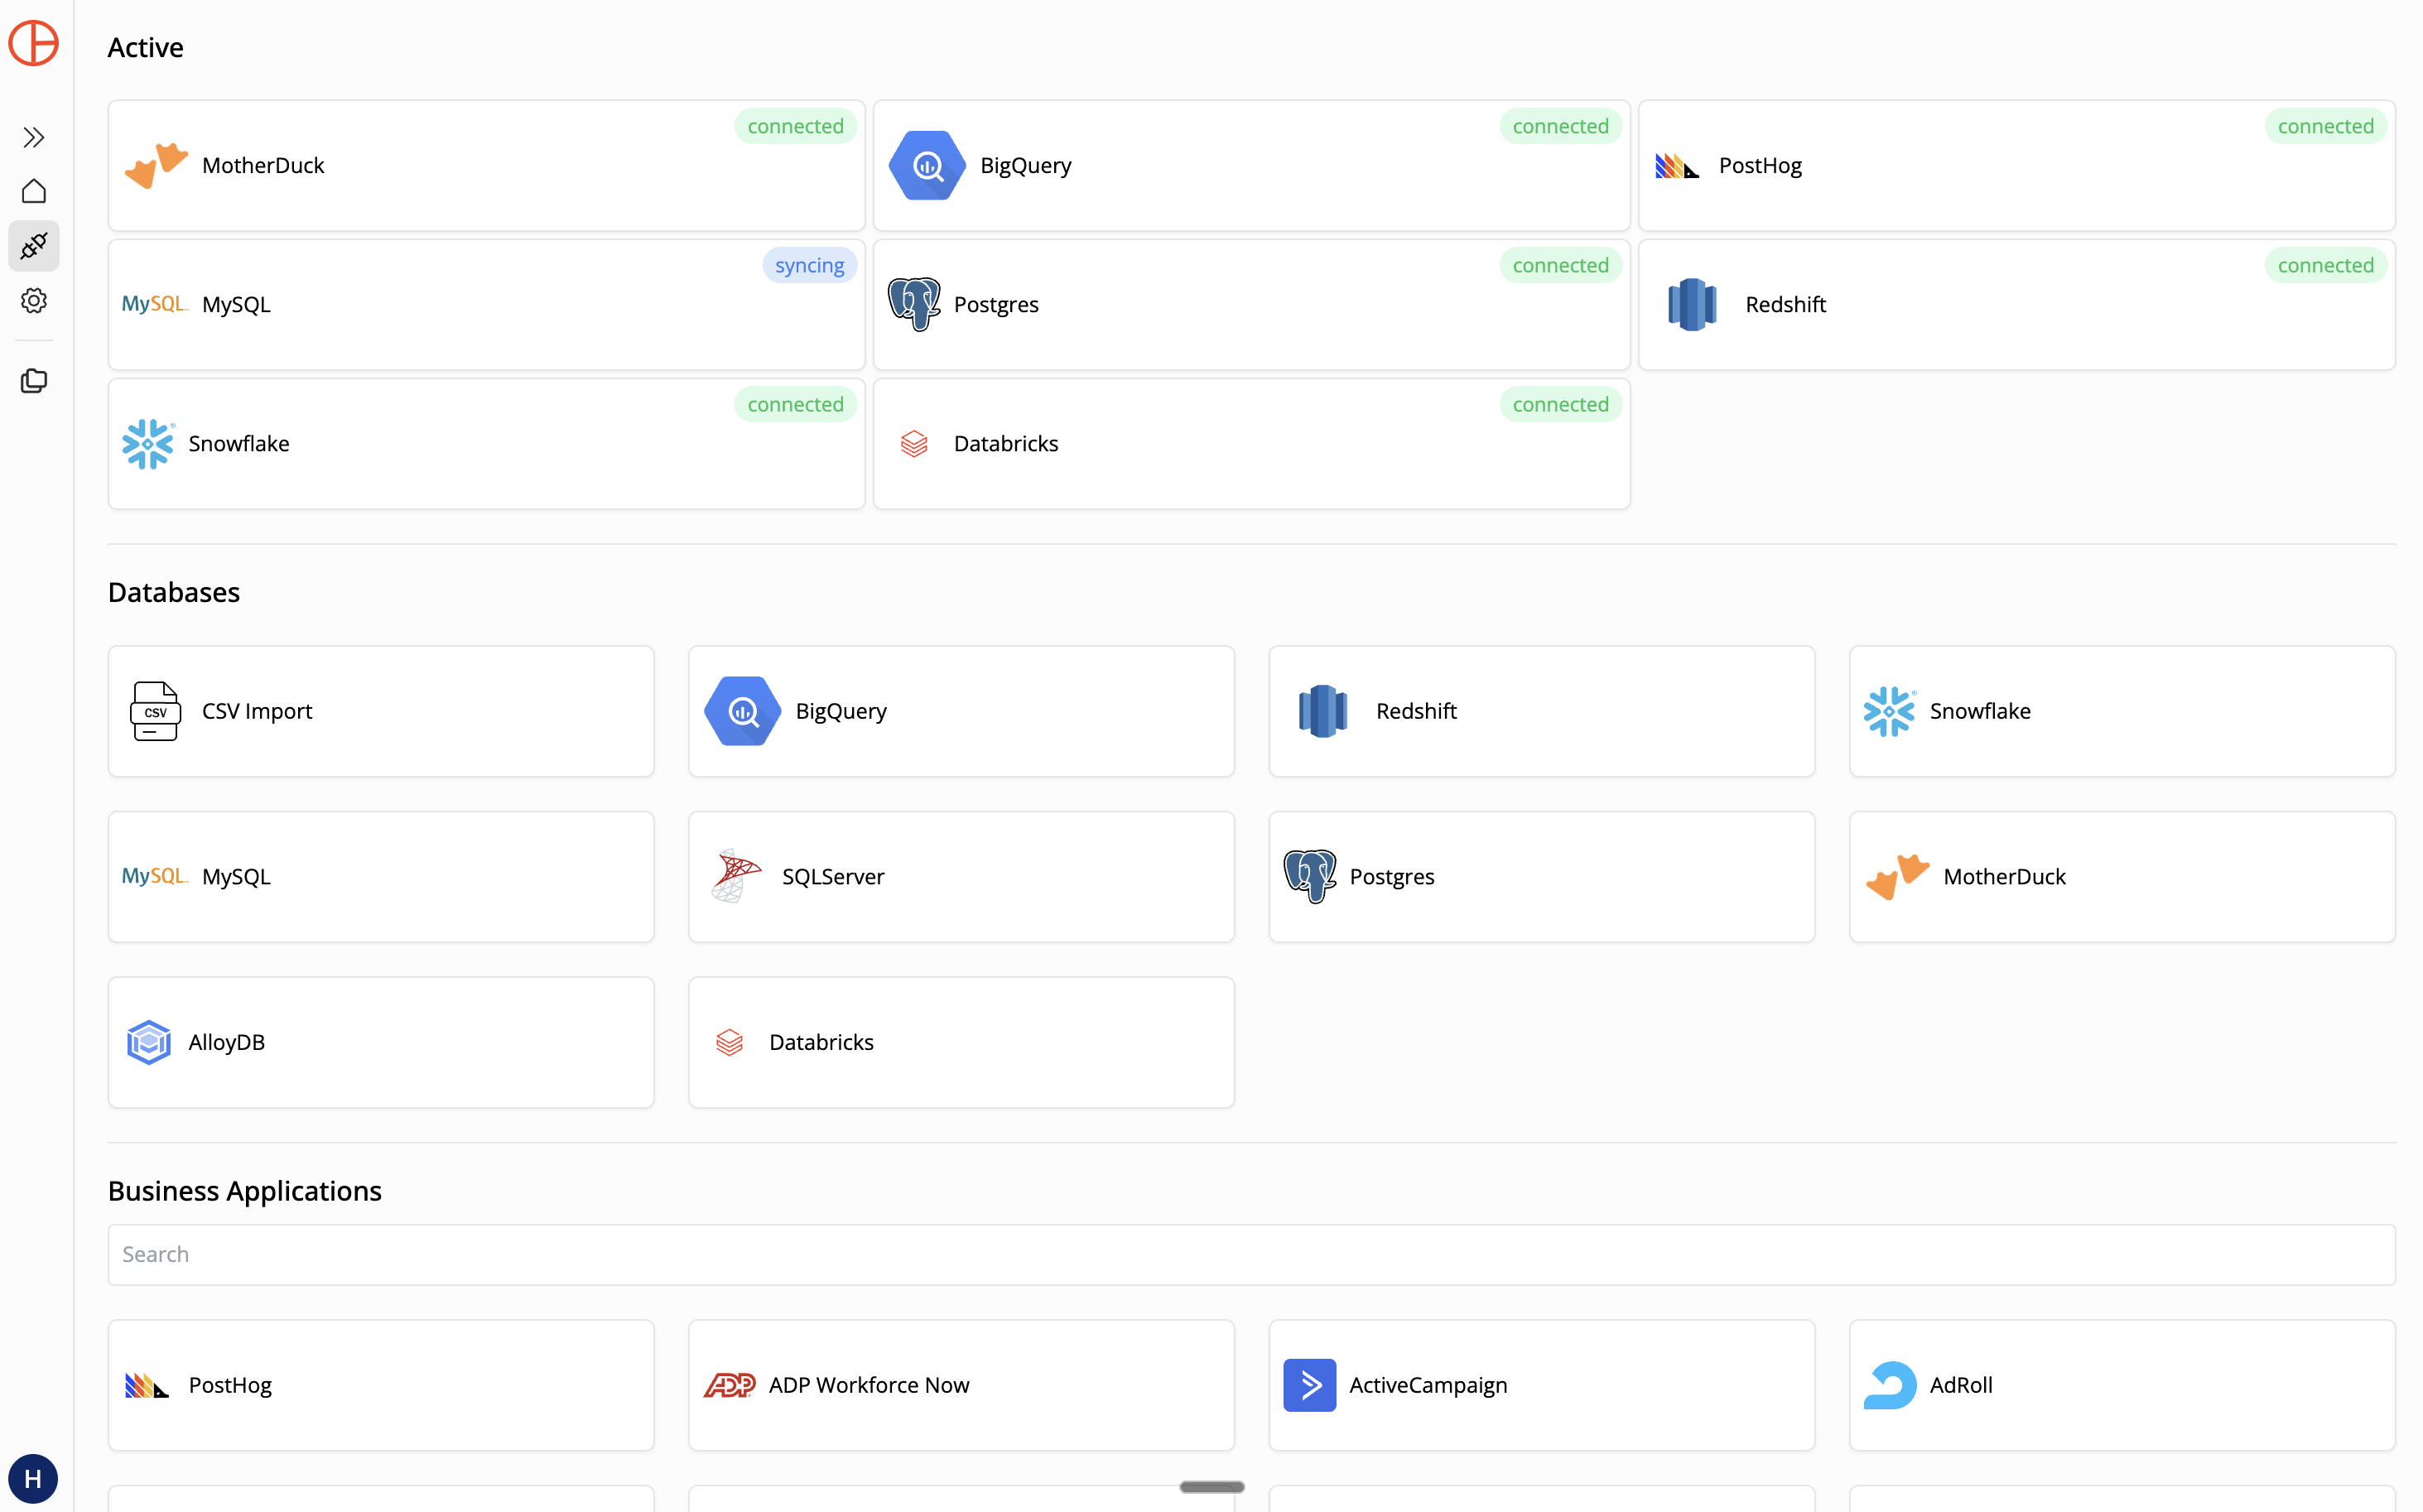
Step 1: Connect Snowflake to Pylar
Connecting Snowflake requires a few specific details to ensure a secure link.
- Get your Account URL: It looks like
abc12345.us-east-1.snowflakecomputing.com. - Whitelist Pylar's IP: In Snowflake, you (or your admin) must whitelist Pylar's IP address (
34.122.205.142) in your Network Policies. This is a critical security step. - Create a Dedicated User: We recommend creating a specific user (e.g.,
PYLAR_USER) with read-only access to the schemas you want to expose. - In Pylar, go to Connections -> Snowflake.
- Enter your Account URL, Database, Warehouse, Username, and Password.
- Important: Trim your Account URL! Remove
https://and everything after.snowflakecomputing.com. - Format:
<account_identifier>.snowflakecomputing.com(e.g.,abc12345.us-east-1.snowflakecomputing.com).
- Important: Trim your Account URL! Remove

- Whitelist IP: You MUST whitelist Pylar's IP (
34.122.205.142) in your Snowflake Network Policies. Pylar will test the connection and index your table metadata.
Step 2: Create a Sandboxed View
Now, let's define what the agent is allowed to touch. Suppose you want an agent to help sales reps check deal status, but you don't want it to see commission data.
In Pylar's SQL IDE, create a view:
-- view: deal_status_lookup
SELECT
  account_name,
  opportunity_stage,
  amount,
  close_date,
  owner_name
FROM SALES_DB.CRM.OPPORTUNITIES
WHERE is_closed = false
  AND amount > 0
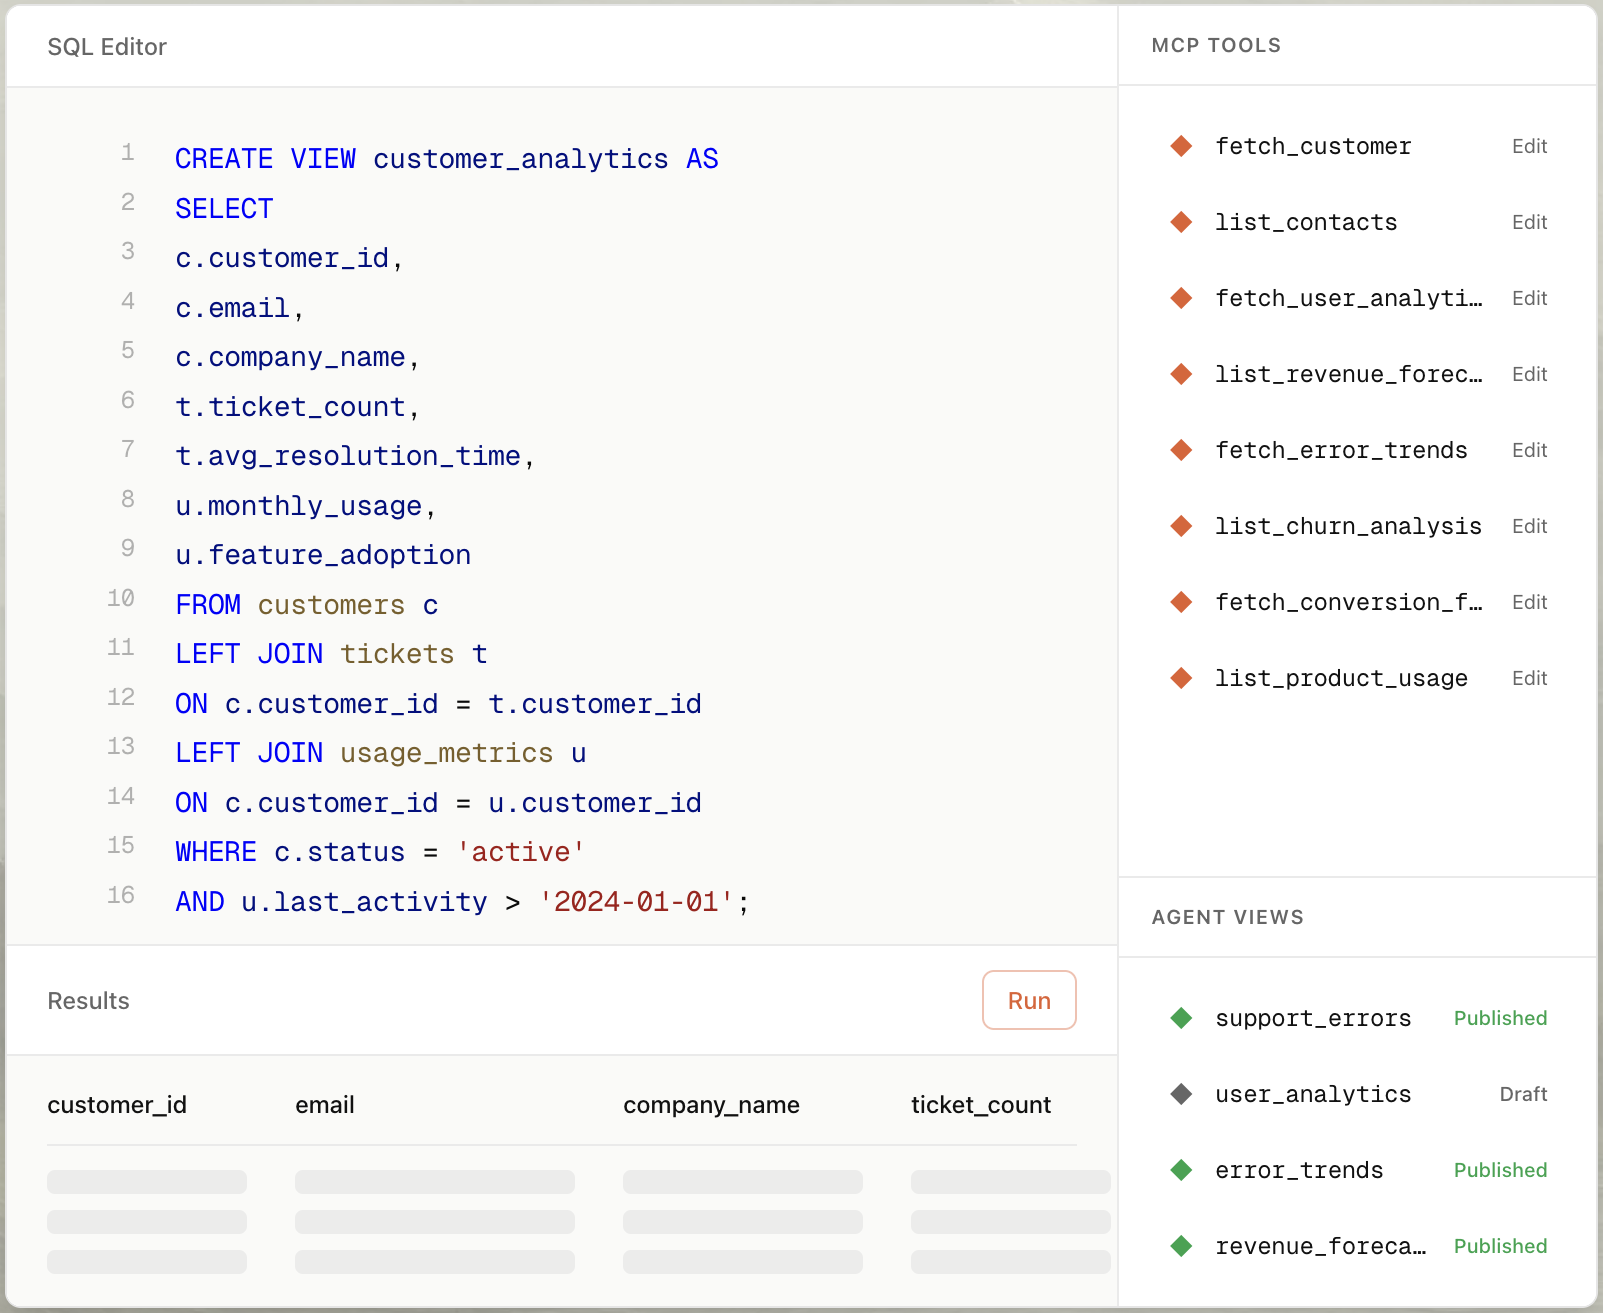
This view filters out closed deals and ensures only relevant columns are exposed. The agent literally cannot see anything else.
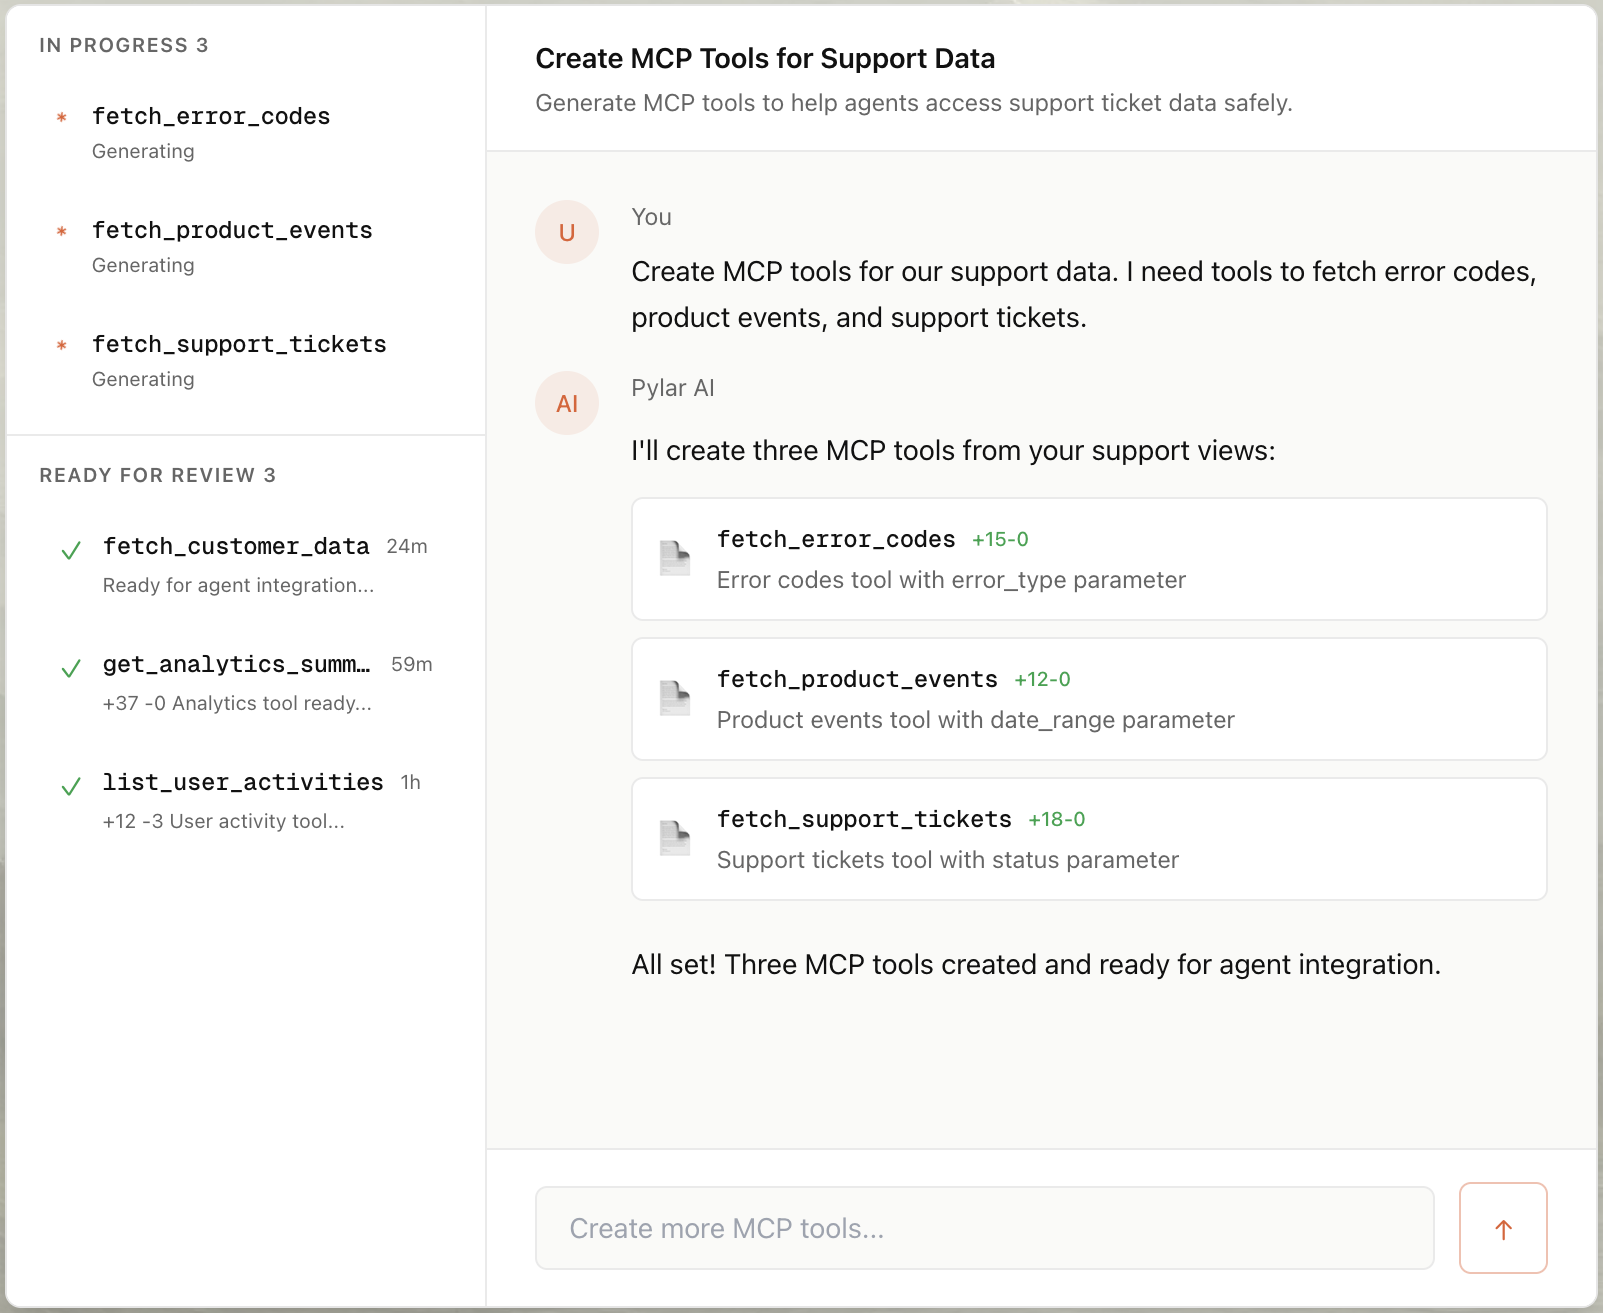
Step 3: Auto-Build the MCP Tool
- Select your view in the right sidebar.
- Click "Create MCP Tool" and choose "Create with AI".
- Type a prompt: "Create a tool that searches for opportunities by account name."
- Pylar generates the tool configuration:
- Name:
search_open_deals - Description: "Searches for open sales opportunities by account name. Returns stage, amount, and close date."
- Parameters:
account_name(string)
Step 4: Publish & Connect
- Click "Publish" in the right sidebar.
- Click "Generate Token".
- Copy your MCP HTTP Stream URL (
https://mcp.publish.pylar.ai/mcp) and Authorization Bearer Token.

Connect to Claude Desktop: Edit your config file:
{
  "mcpServers": {
    "snowflake-sales": {
      "url": "https://api.pylar.ai/mcp/v1/server/YOUR_SERVER_ID",
      "headers": {
        "Authorization": "Bearer YOUR_API_KEY"
      }
    }
  }
}
Now, you can ask Claude: "What's the status of the Acme Corp deal?" and it will securely query your Snowflake view in real-time.
Advanced Use Cases for Snowflake Agents
Snowflake often houses critical business data. Here is how agents can leverage it:
1. Sales Operations & Deal Intelligence
Goal: Give sales leaders instant visibility into pipeline health without navigating Salesforce or Tableau.
- View: Join
opportunitieswithsales_activities(emails, calls). - Tool Prompt: "Create a tool that summarizes deal activity for the last 30 days for a specific account."
- User Query: "Why is the Acme Corp deal stalled? Have we emailed them recently?"
2. Customer 360 & Churn Risk
Goal: Enable support and success teams to spot at-risk customers instantly.
- View: Aggregate
usage_metrics,support_tickets, andbilling_history. - Tool Prompt: "Create a tool that returns a 'Churn Risk Score' based on declining usage and open tickets."
- User Query: "Is Customer X at risk of churning?"
Connecting to Any Agent Builder
Option A: LangGraph (Python)
If you are building complex, stateful agents with LangGraph, Pylar fits right in.
from langchain_mcp import MCPTool
from langgraph.prebuilt import create_agent_executor

# 1. Define the Pylar Tool
pylar_tool = MCPTool(
    url="https://api.pylar.ai/mcp/v1/server/YOUR_SERVER_ID",
    api_key="YOUR_API_KEY"
)

# 2. Add to your LangGraph Agent
tools = [pylar_tool]
agent_executor = create_agent_executor(model, tools)

# 3. Run
response = agent_executor.invoke({"input": "Check the status of the Acme deal"})
Option B: Claude Desktop
For local analysis, connect Pylar directly to your Claude Desktop app.
- Open your
claude_desktop_config.json. - Add your Pylar MCP server details (URL and Key).
- Restart Claude.
- Now you can ask Claude questions about your Snowflake data directly from your desktop!
Security First
Unlike giving an agent direct SQL access, Pylar ensures:
- No Prompt Injection Risk: Agents can't "break out" of the SQL view.
- Read-Only by Design: Pylar connections are read-only.
- Full Observability: Check the Evals tab in Pylar to see every tool call, success rate, and latency.
Conclusion
Building an MCP server for Snowflake doesn't have to mean weeks of engineering work or compromising on security. With Pylar, you can create a secure, governed MCP server for your Snowflake data warehouse in under 2 minutes—no coding required.
By connecting Pylar to your Snowflake instance, creating sandboxed views that protect sensitive data and prevent runaway queries, and auto-generating MCP tools with natural language, you unlock the full analytical power of your Snowflake warehouse for AI agents while maintaining complete control.
Whether you're building a marketing analytics agent, a product feature adoption tracker, or any other data-driven AI application, Pylar gives you the governance layer you need. Your views act as security boundaries, preventing agents from accessing unauthorized data or triggering expensive full-table scans. With full observability through Pylar's Evals dashboard, you can monitor every query, track success rates, and optimize performance.
Stop building custom gatekeepers. Start securely bridging Snowflake and your AI agents today.
Start building your Snowflake MCP server for free at pylar.ai.