Create custom MCP server to Query Supabase - without code
Hoshang Mehta
Create custom MCP server to Query Supabase - without code
Supabase has become the default backend for modern startups and indie hackers. It gives you a full Postgres database, authentication, and real-time subscriptions out of the box.
But as you build AI features—like an agent that manages user subscriptions or moderates content—you hit a wall. You need to give your AI secure access to your Supabase data. You don't want to hardcode your service_role key into an LLM prompt.
Pylar is the missing link.
Pylar allows you to create a secure, read-only MCP (Model Context Protocol) server for your Supabase project in minutes. It respects your data privacy and gives you a governance layer for your AI agents.
Why Pylar for Supabase?
- Native Postgres Support: Pylar connects directly to Supabase's underlying Postgres instance.
- Connection Pooling: Pylar works with Supabase's transaction pooler (PgBouncer) for high-scale apps.
- Security: Keep your
service_rolekeys secret. Pylar uses standard database credentials and IP whitelisting.
Step-by-Step Walkthrough
Step 1: Get Connection Details from Supabase
- Log in to your Supabase Dashboard.
- Go to Project Settings -> Database.
- Under Connection parameters, uncheck "Use connection string" to see the individual fields.
- Copy your Host, Database Name, User, and Port (usually 5432 or 6543).
- Note: You will need your database password. Supabase doesn't show this, so hopefully you saved it!
Step 2: Connect Supabase to Pylar
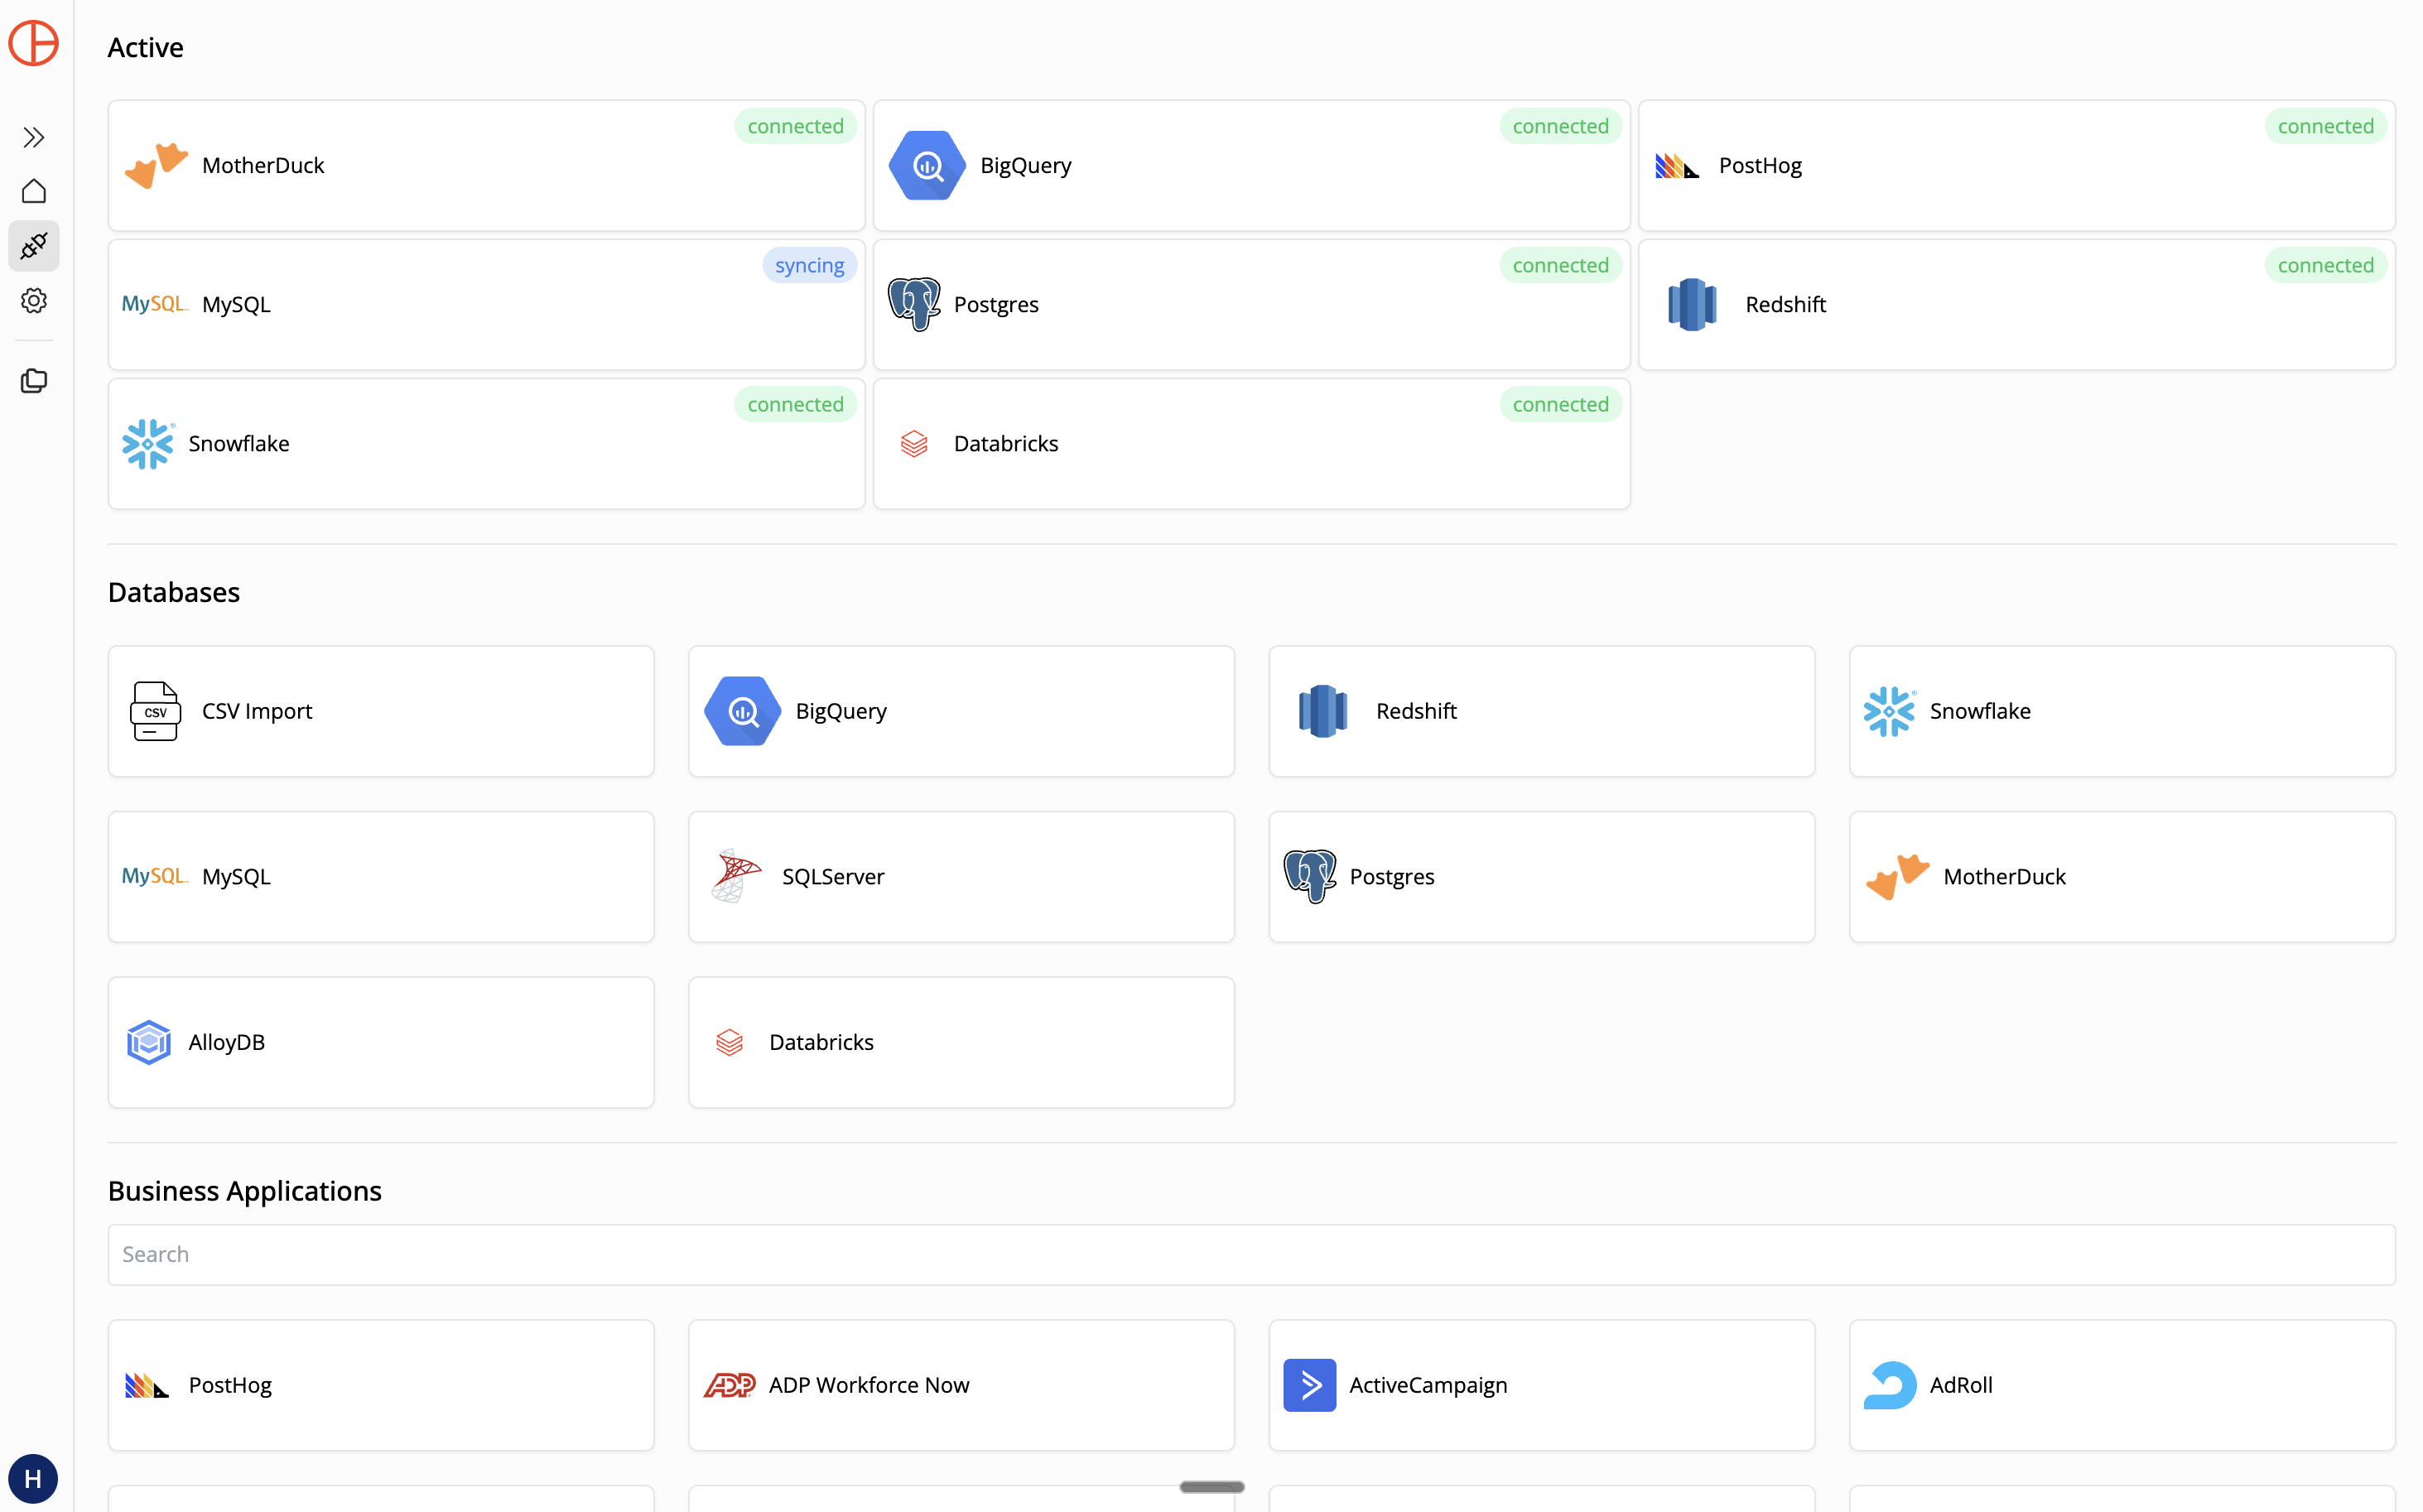
- In Pylar, go to Connections -> PostgreSQL (Supabase is just Postgres!).
- Enter the details you copied: Host, Port, Database, Username, and Password.
- Naming Rule: Use lowercase letters and underscores (e.g.,
supabase_prod).
- Naming Rule: Use lowercase letters and underscores (e.g.,

- Whitelist IP: In Supabase, go to Network Restrictions (under Database settings). Add Pylar's IP:
34.122.205.142. Pylar will verify the connection.
Step 3: Create a Sandboxed View
Let's say you want an agent to help with customer support, but you need to protect user privacy.
In Pylar's SQL IDE, create a view:
-- view: user_subscription_status
SELECT
  id as user_id,
  email,
  raw_user_meta_data->>'full_name' as name,
  subscription_tier,
  last_sign_in_at
FROM auth.users
JOIN public.subscriptions ON auth.users.id = public.subscriptions.user_id
WHERE status = 'active'
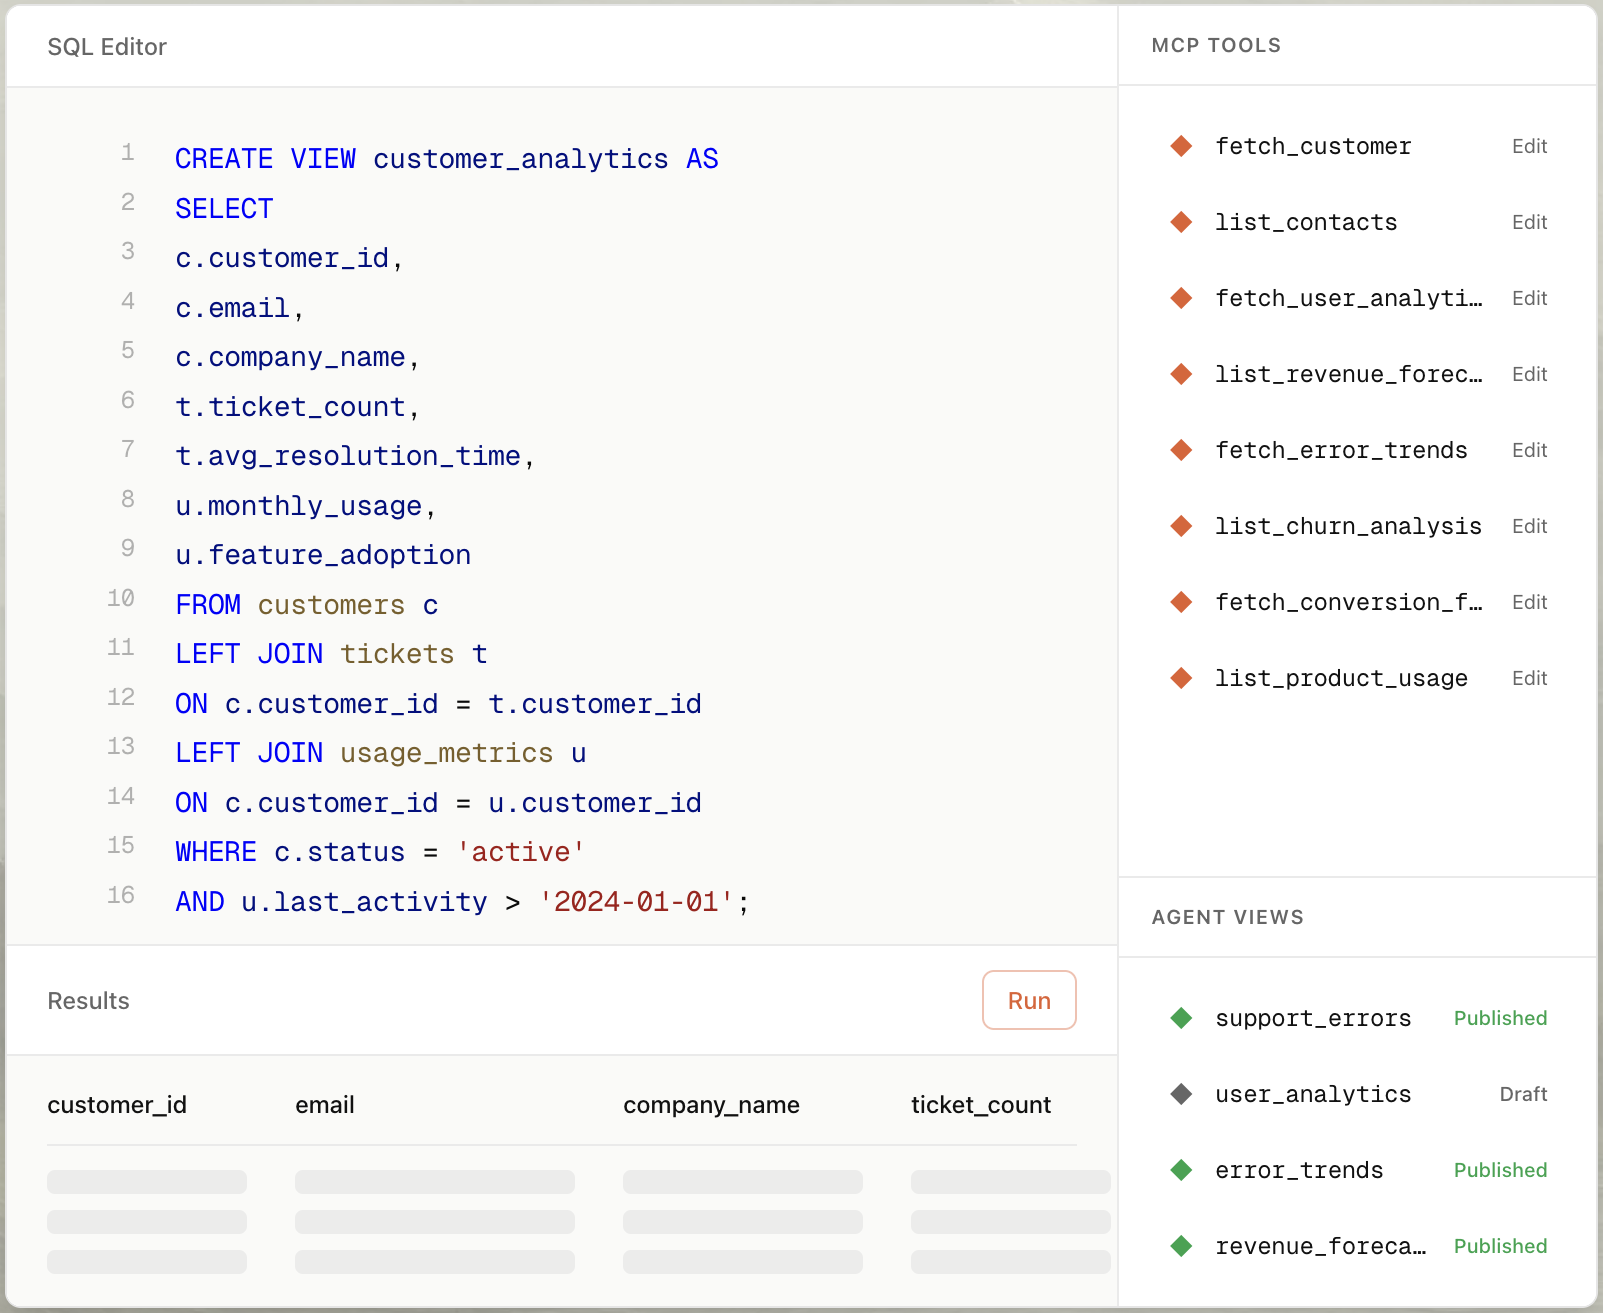
This view joins Supabase's internal auth schema with your public subscriptions table, giving the agent exactly what it needs and nothing more.
Step 4: Auto-Build the MCP Tool
- Select your view (
user_subscription_status) in the right sidebar. - Click "Create MCP Tool" and choose "Create with AI".
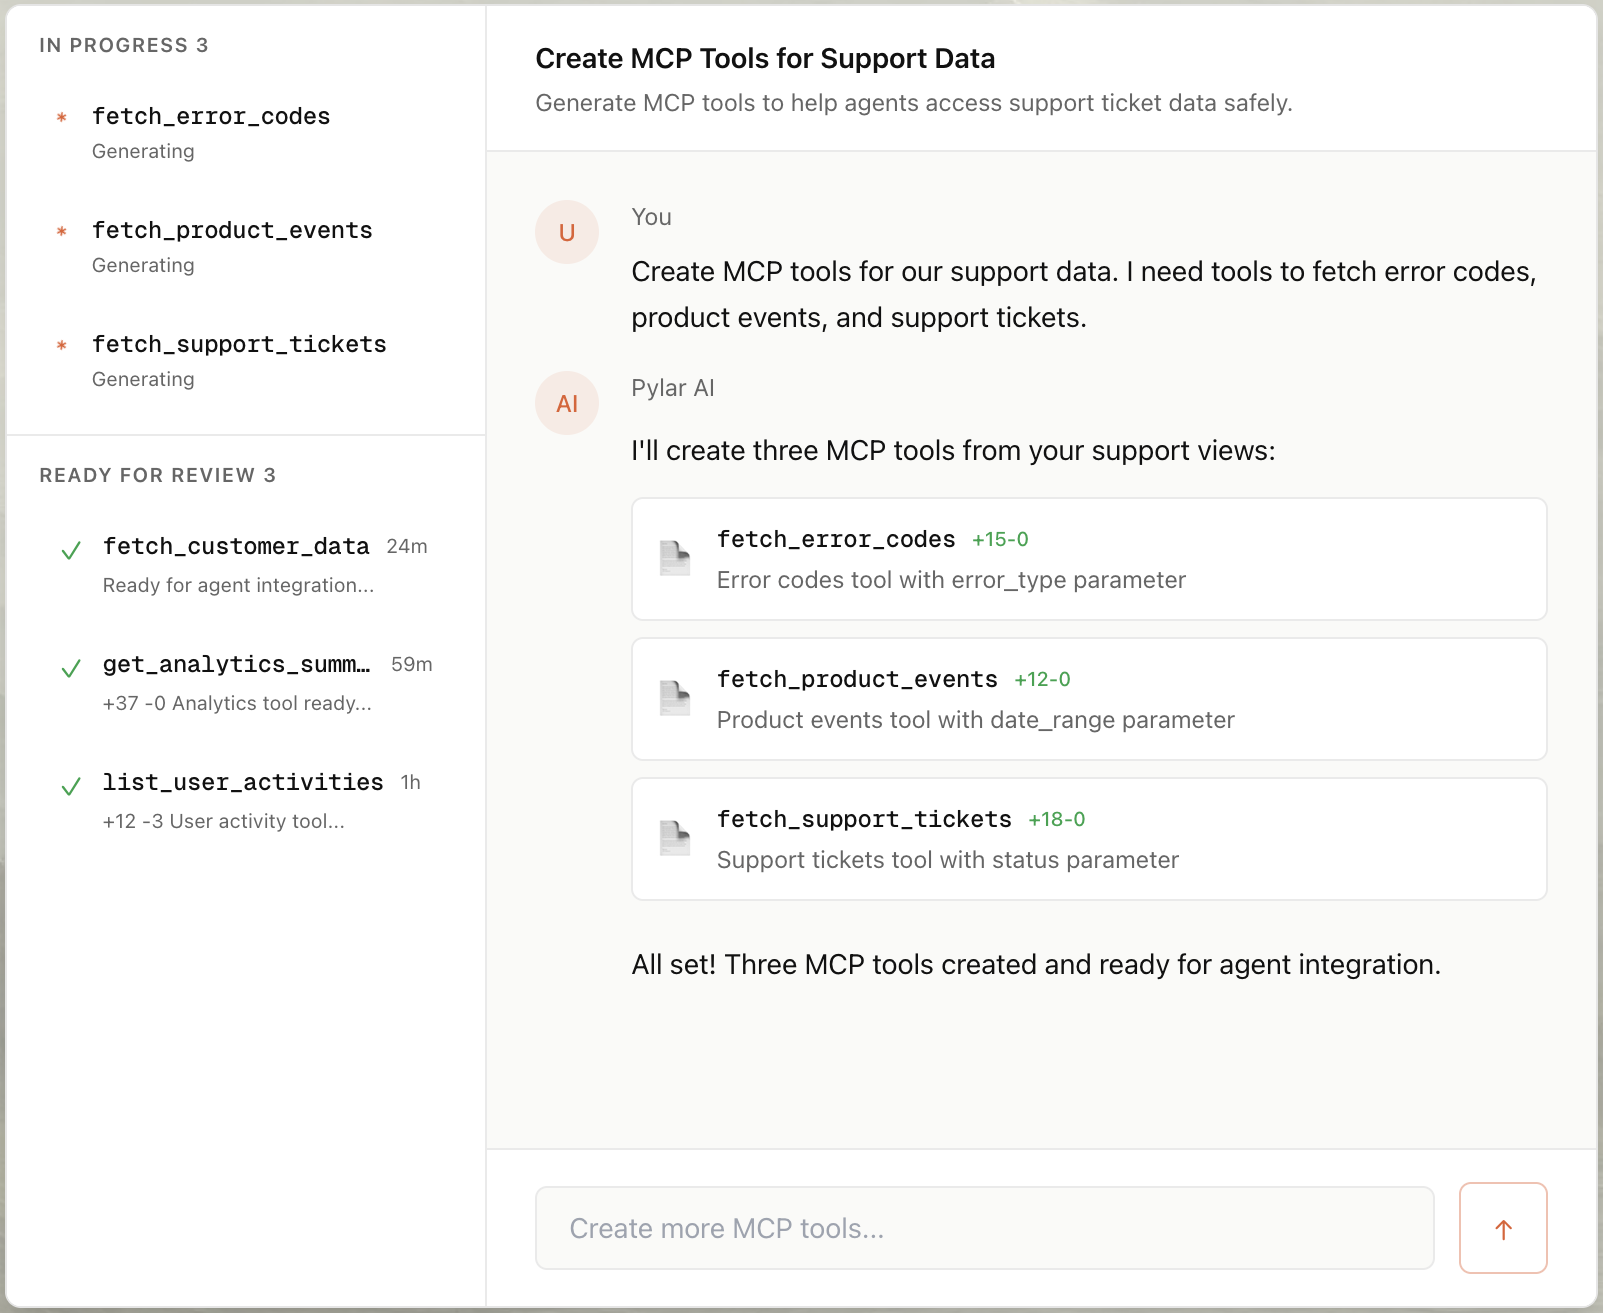
- Type a prompt: "Create a tool that gets a user's subscription tier by email."
- Pylar generates the tool configuration:
- Name:
get_user_tier - Description: "Retrieves subscription tier and last login for a user given their email."
- Parameters:
email(string)
- Name:
Step 5: Publish & Connect
- Click "Publish" in the right sidebar.
- Click "Generate Token".
- Copy your MCP HTTP Stream URL (
https://mcp.publish.pylar.ai/mcp) and Authorization Bearer Token.

Connect to Vercel AI SDK: If you're building a Next.js app with Supabase, you can use Pylar tools in your AI route.
// app/api/chat/route.ts
import { MCPTool } from "langchain-mcp";

const pylarTool = new MCPTool({
  url: "https://api.pylar.ai/mcp/v1/server/YOUR_SERVER_ID",
  apiKey: process.env.PYLAR_API_KEY,
});

// Pass this tool to your Vercel AI SDK stream
Advanced Use Cases for Supabase Agents
1. Content Moderation Bot
Goal: An agent that scans new comments and flags them, without giving it write access to the whole DB.
- View:
commentstable filtered bycreated_at > NOW() - INTERVAL '1 hour'. - Tool Prompt: "Create a tool that fetches recent comments for moderation."
- User Query: "Check the last hour of comments for spam."
2. SaaS Onboarding Assistant
Goal: An in-app assistant that helps users set up their account based on their current progress.
- View:
onboarding_stepsjoined withuser_profiles. - Tool Prompt: "Create a tool that checks which onboarding steps a user has completed."
- User Query: "What should I do next to finish setting up my account?"
Conclusion
Building AI features on top of Supabase doesn't have to mean compromising on security or spending weeks writing boilerplate code. With Pylar, you can create a secure, governed MCP server for your Supabase project in under 2 minutes—no coding required.
By connecting Pylar to your Supabase Postgres instance, creating sandboxed views that protect sensitive data, and auto-generating MCP tools with natural language, you unlock the full potential of your Supabase data for AI agents while maintaining complete control and security.
Whether you're building a content moderation bot, a SaaS onboarding assistant, or any other AI-powered feature, Pylar gives you the governance layer you need to deploy agents safely. Your service_role keys stay secure, your data stays protected, and your agents get exactly the access they need—nothing more.
Start building your Supabase MCP server for free at pylar.ai.